As an Amazon Associate, I earn from qualifying purchases.
Have you ever sewed, crafted, or DIYed something yourself? If so, you might be a sewing nerd, a craft nerd, a clothing nerd, or a DIY fashion nerd. I am all of those things! And that’s great because coming up with my fabric wonders can be almost as fun as eating or having sex. And can you blame me? Even if you go no further than edible flowers on the table or freshly laid fruit in the center of the living room. Removing tailor chalk from fabric will be discussed in this article.
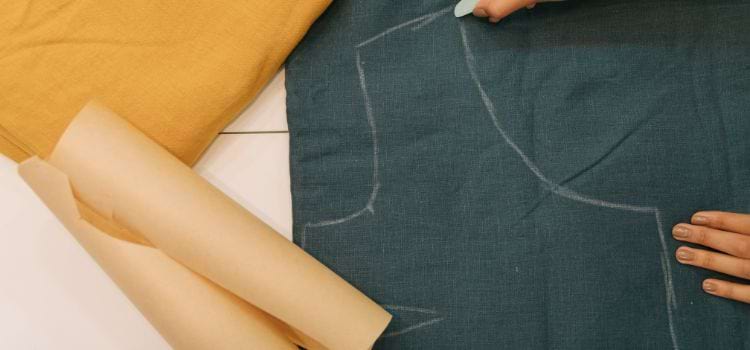
This invisible helper leaves a temporary light gray or white mark on the fabric that disappears when you remove the chalk. But this friend can sometimes turn into an enemy or even a stalker. The marks can leave behind stains and stick around unwelcome. Below, you will find all the information on tailor chalk stains on all types of fabric and how to prevent and remove them. You will also learn why tailor chalk makes marks in the first place.
Understanding Tailor Chalk
Before we jump into stain removal methods, let’s take a moment to comprehend this dual-nature tool that’s both a maker and a potential breaker of your fabric’s pristine look.
Types of Tailor Chalk
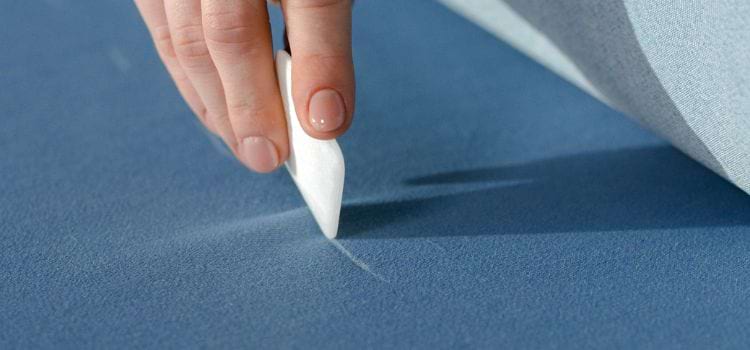
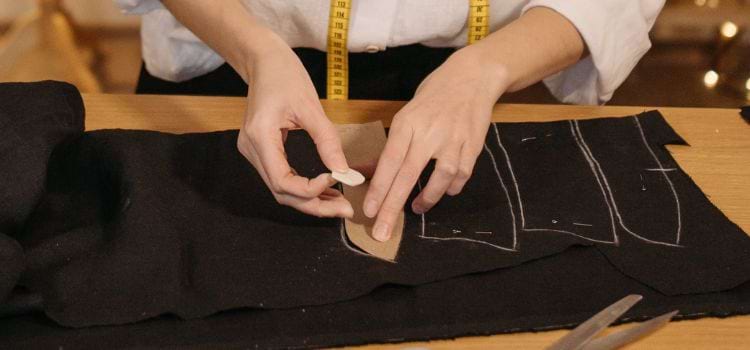
First, it’s essential to distinguish between the various tailor chalk types. You’ve got the classic chalk wheel and the triangular tailor’s chalk — both are designed to provide a visible, easily wiped line without damaging the fabric. Some advanced versions come with refillable options, making them more sustainable choices for your sewing habits.
How it Works on Fabric
Tailor chalk is known for its strong, visible lines, but what gives it its ability to stick? The chalk contains binders that help it adhere to fabric fibers until they’re intentionally removed. This very quality can make it tricky to clean if neglected.
Prevention is Key
The best way to tame a tailor chalk stain is to prevent it from taking shape in the first place. Here’s how:
Tips to Avoid Tailor Chalk Stains
- Before using tailor chalk, always test it on a little, discrete section of the cloth.
- Be mindful of the pressure you apply – harder marks are more challenging to remove.
- Store chalk properly – a cool, dry place is ideal, as humidity can make the chalk more prone to staining.
- Use a quality, easy-to-remove tailor chalk that’s suited for your fabric type.
Methods For Removing Tailor Chalk From Fabric
Ready to bid adieu to tailor chalk? Here is a step-by-step breakdown of several methods for effective removal.
1. Brushing or Dusting
Start with the gentlest method. To remove the chalk, use a dry, clean cloth or a soft-bristled brush. This technique should be your go-to for delicate fabrics or light chalk marks.
2. Erasing or Rubbing
For stronger marks, try gently erasing the chalk with an appropriately chosen eraser or rubbing it off with a kneaded eraser. Always work in the direction of the fabric’s grain to avoid causing any ‘hazed’ appearances.
3. Dabbing with Water and Mild Detergent
Using a fresh, white cloth, dab a mixture of water and mild detergent onto the chalk. Be cautious not to over-saturate the area, and do a test on an inconspicuous area to check for colorfastness.
4. Apply vinegar or lemon juice as a spot treatment
Lemon juice or vinegar, two naturally occurring acids, can aid in the chalk’s breakdown. Spoon a tiny bit onto the chalk and dab with a fresh, moist towel.
5. Using Commercial Stain Removers
When all else fails, turn to a trusted commercial stain remover. Ensure it’s appropriate for your fabric and follow the instructions on the product precisely, including any pre-treating steps.
Special Considerations for Different Fabrics
Different fabric types require different treatment approaches. Let’s examine each in more detail.
Cotton
Cotton is a robust fabric that can handle a variety of cleaning techniques. For persistent chalk, consider using the vinegar or lemon juice approach, and follow up with a thorough wash.
Silk
Silk is more delicate than cotton. It’s best to avoid using strong chemicals or vigorous rubbing. A diluted vinegar solution may work, but be extremely gentle and blot, not rub.
Wool
Woolen fabrics require special care. Use a gentle, wool-safe detergent for spot treatments and avoid excessive moisture, which can lead to fabric distortion.
Synthetic Fabrics
Synthetics like polyester or nylon can usually withstand more severe treatments. Start with water and detergent and progress to more robust treatments if necessary.
Tips and Tricks
Here are additional tricks for handling stubborn chalk stains:
How to Treat Resistant Stains
If the chalk marks are very difficult to remove, go through the treatment procedure many times. Patience and persistence will help break down the chalk over time. Removing tailor chalk from fabric.
Test Patches
Never forget to try new washing methods on a section of the cloth that is hidden. This step is crucial for preventing unforeseen damage or discoloration.
Conclusion
There is no need to wrestle around on the floor all evening in a rage removing tailor chalk from a dress. By appreciating the chalk, being regular with preventative tactics, and adopting the right tools and techniques, you can ensure your clothes look bright and brilliant.
Remember, in the end, a light touch (and a little bit of know-how) will go a long way towards ensuring the longevity of your textiles so get crazy, get creative, and, if things get wild, let this guide serve as your backup.
As an Amazon Associate, I earn from qualifying purchases.
Leave a Reply